01Hold the cutter precisely
Hold the handle like a pencil between thumb and index finger, supported by the middle finger. Stabilise the hand without using paint as a blade support. The other hand controls the excess away from the cutting path.
INSTALLATION GUIDE · PPF
A careful installation starts before the first piece of film. It combines properly prepared paint, controlled application and a finish suited to each panel. This guide helps vehicle owners understand the work and installers identify the points that need attention.
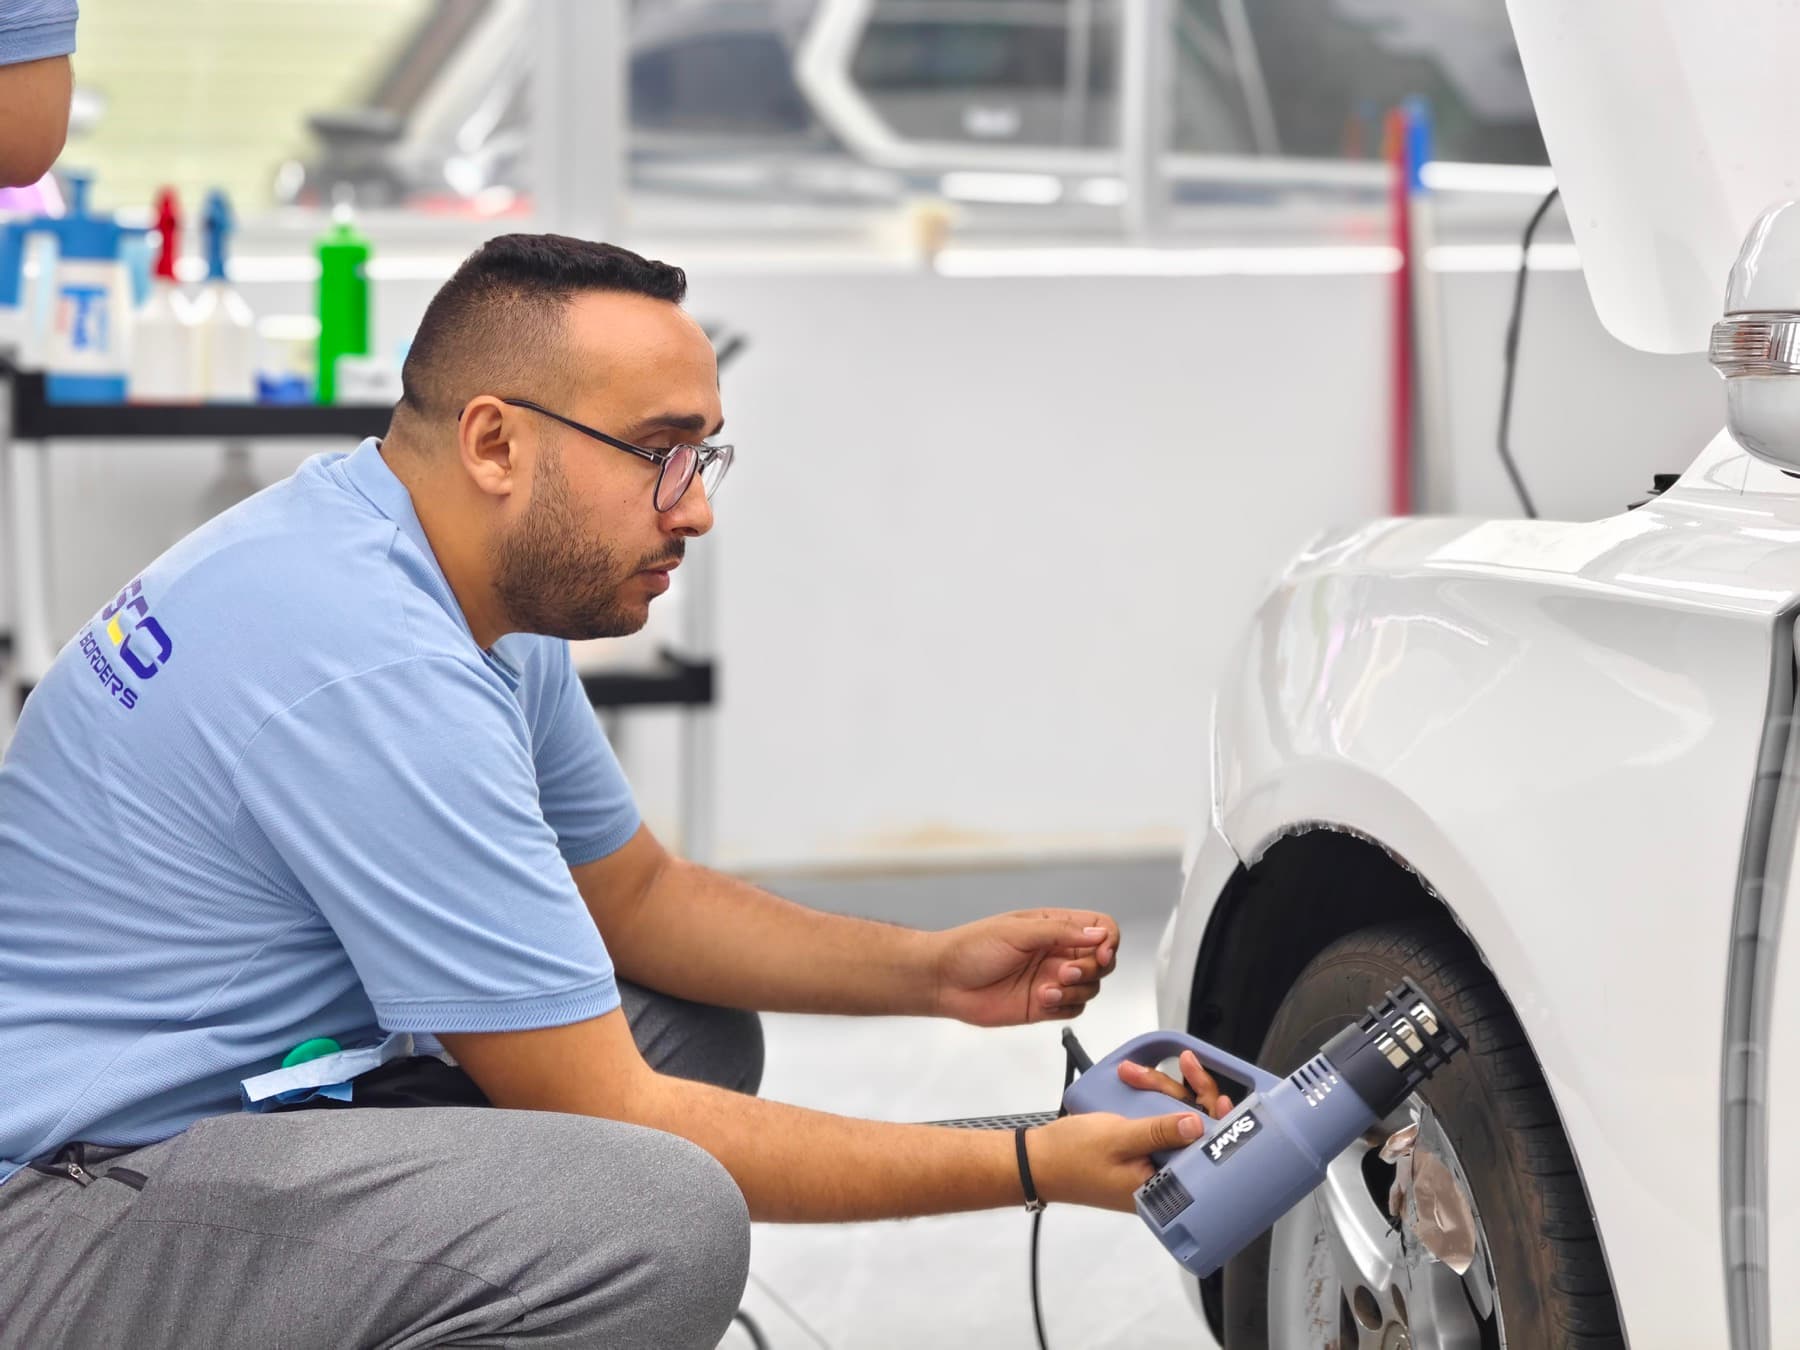
At our Mohammedia workshop, patterns are plotter-cut. These are the key considerations at each stage; preparation and finishing choices depend on the vehicle and the condition of its paint.
Select a phase to explore its two steps.
Inspect chips, scratches, repainted panels and accessories with the customer. Agree which panels to cover, where the film will end and which existing defects will remain visible. PPF protects; it does not repair damaged paint.
Agree on coverage, initial condition and expected finishes.Remove dirt, then treat contaminants with products suitable for the substrate. Pay attention to seams and recesses that can release dirt during application. Rinse and inspect before continuing.
New paintwork is not necessarily ready for film.Assess whether light correction is useful and safe for the clearcoat. Remove polish, wax or protective residues that compromise adhesion. Recently repainted panels need the body shop’s confirmation that they are ready for film.
Panel returns deserve as much care as the centre.Work indoors in a clean, well-lit space protected from draughts. Prepare clean microfibres, labelled sprayers and suitable squeegees with undamaged edges. Keep dust-producing work away from the installation.
Check hands, tools and the work surface for cleanliness.Check that the pattern suits the vehicle model and version. Position the piece and plan clearances around sensors, seals and openings. Identify possible wrapped edges before removing the liner.
Pre-cutting reduces the trimming needed near the paint.Prepare the application solution specified for the film series. Wet surfaces as its instructions require, minimise contact with the adhesive and align the film against stable reference points. Protect sensitive equipment from liquids.
Solution mix, temperature and working time depend on the film.Move solution towards an open exit with steady, overlapping passes. Keep the working face lubricated as instructed. Check alignment as you go, without trapping a pocket or repeatedly working the film dry.
Consistent passes avoid missed areas between strokes.Distribute stress progressively across complex shapes. Reposition before forcing the material and respect the manufacturer’s stretch and heat limits. A persistent fold calls for a different approach, not more pulling.
Do not promise one-piece coverage where the shape requires a seam.Clean and stabilise edges using the film’s procedure. Wrap the edge when access, pattern and substrate allow it. Otherwise, aim for an even, discreet external edge. Preserve functional clearances and agree necessary seams.
No blade directly on paint; component removal is assessed individually.Inspect under different lighting, then review edges and complex areas. Distinguish remaining installation moisture from contamination, folds or lifted edges. Provide care instructions and film identification.
Explain what to monitor and how to arrange an inspection.Close-up views show film tension, squeegee direction and the finishing of a corner.
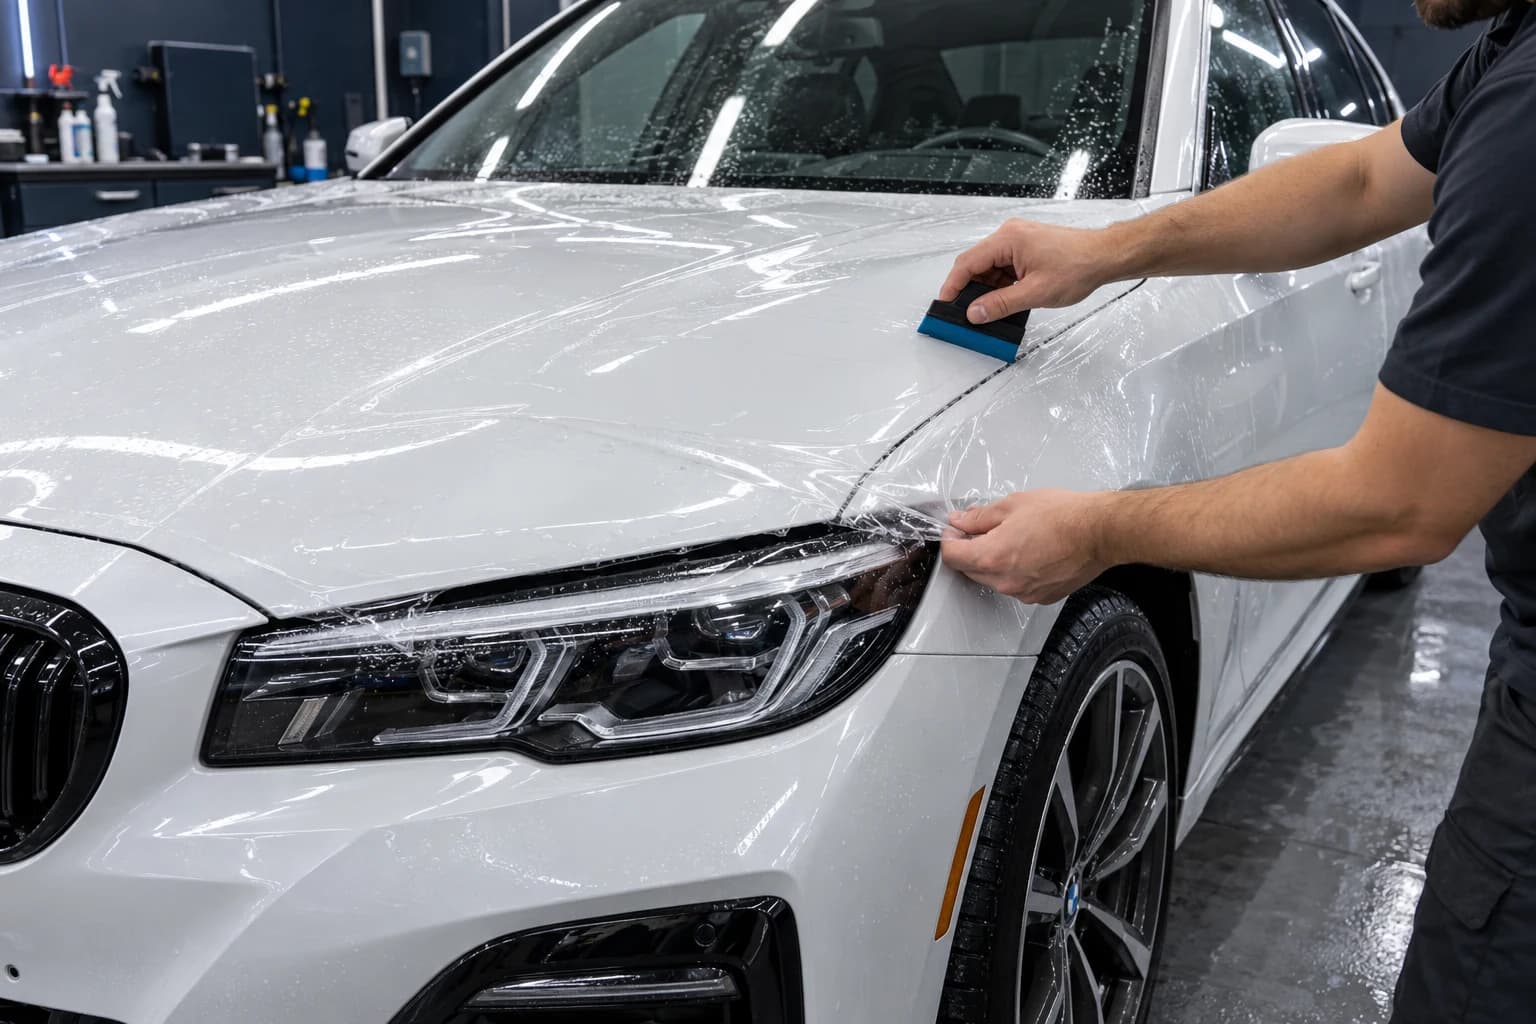
Prepare the corner before folding the edge. Position without forcing, distribute the material and leave an exit for the solution. The squeegee follows the shape progressively.
The film is already positioned on the hood. The installer works on the excess at the panel edge, keeping paint out of the blade’s path. The corner shape and planned return determine the finish.
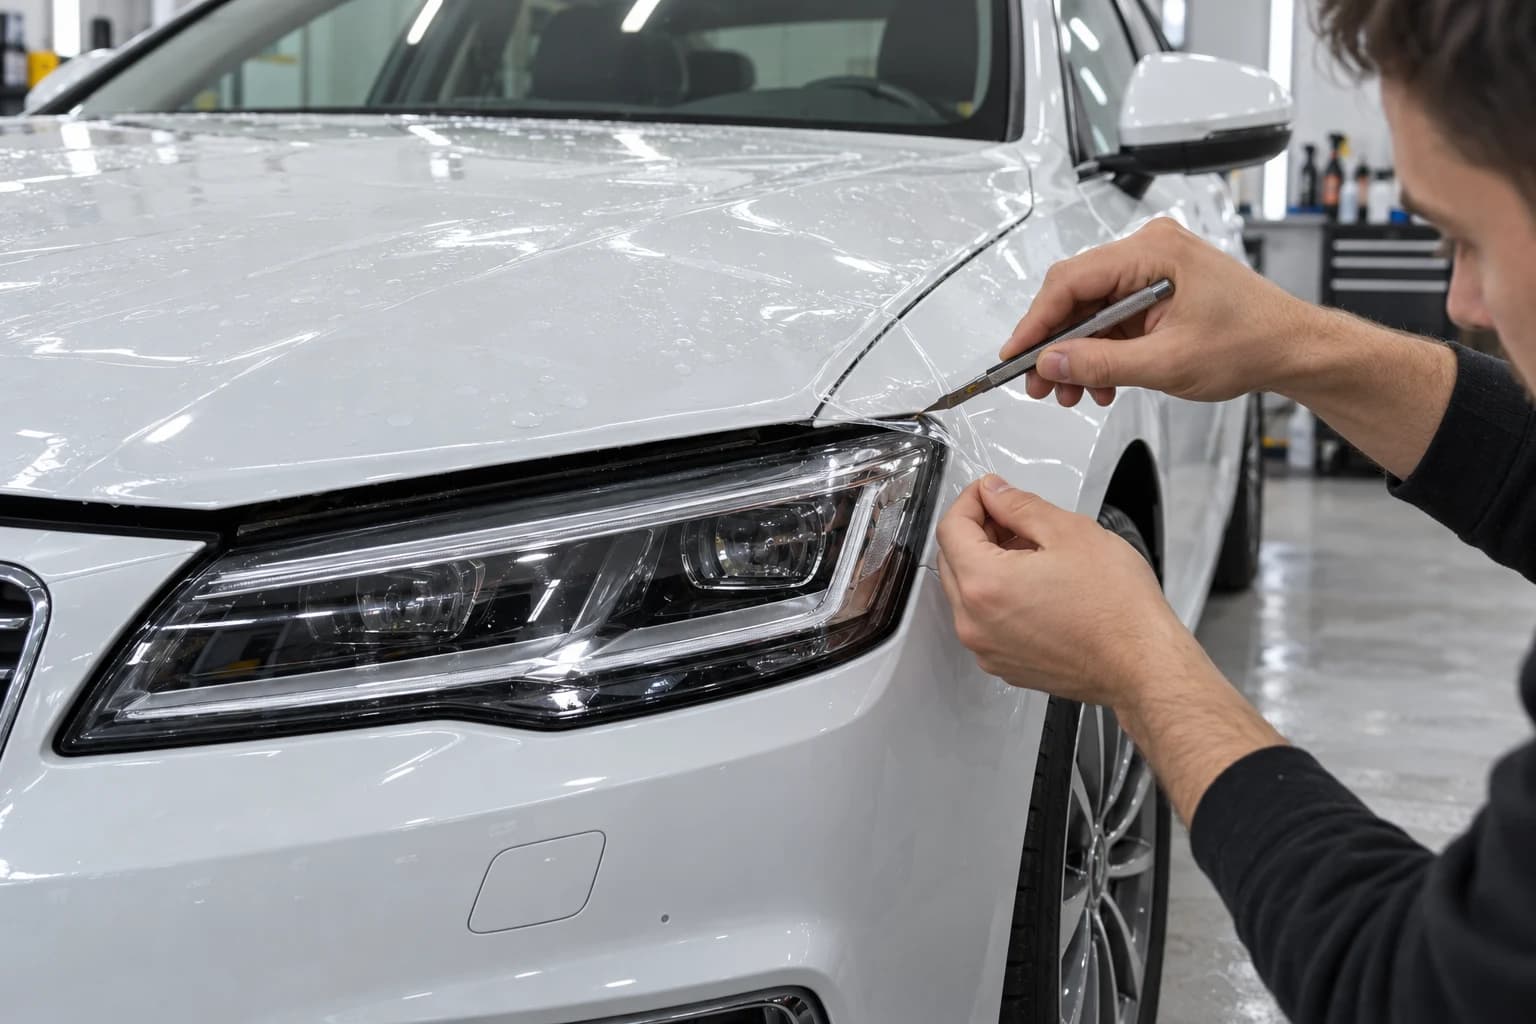
Hold the handle like a pencil between thumb and index finger, supported by the middle finger. Stabilise the hand without using paint as a blade support. The other hand controls the excess away from the cutting path.
Use a clean, sharp blade with limited exposure. Calibrate pressure on spare material of the same film first. Finishing on the vehicle takes a controlled technique: the blade must never reach the clearcoat.
Identify the hood edge and the material needed for the return. Follow the curve with a continuous movement; avoid twisting an embedded blade or repeated cuts that leave a jagged finish.
Gently separate the offcut without pulling on the installed film. If it resists, stop and check the cut. Fold the planned return, then inspect the relaxed corner for compressed folds, loose points or lifted edges.
PPF is a transparent film applied over the paint. At a hood corner, it must follow a curve: too much film creates a fold; too little leaves the edge exposed. These three drawings show the same corner from above, with the headlight underneath to help you find your bearings.
The installer locates the hood edge and checks whether its underside is accessible. A narrow strip of film is left beyond the edge so it can be folded underneath. This is the edge wrap.
The corner is covered and enough film remains to finish the edge without excessive stretching.
The installer holds the knife like a pencil with a steady grip. Only the film extending beyond the painted surface is trimmed, following the rounded corner. The unwanted material is removed while the strip needed for wrapping is retained. The blade must not touch the paint.
The outline is even, with no notch extending onto the hood and no excess material bunching at the corner.
Where the edge allows it, the installer guides the strip around the curve and presses it onto the underside of the hood. Working gradually avoids folds without pulling hard on the corner. The film is then released to check that the edge stays in place.
From outside, the film follows the hood shape without folds or lifted points. The edge stays down without being held by hand.
Wrapping underneath is only possible when the panel shape, access and film allow it. Otherwise, the installer selects a suitable edge finish. These drawings explain the principle; they do not provide a cutting measurement or a template for every vehicle.
Four drawings explain the techniques and finishes. Shapes are simplified: these are explanatory principles, not scale drawings or application settings.
Walk around the vehicle with the installer, first in diffuse light and then with angled lighting. A shared inspection makes expectations clear.
Look for folds, handling marks and visible inclusions. Ask for an assessment of a doubtful area rather than puncturing or rubbing it.
Check even boundaries, corners and accessible returns. An edge should not remain open or under stress that makes it lift.
Compare coverage and seams with what was agreed. Film must not interfere with a sensor, seal, handle or opening.
Keep the invoice, film series and installation date, plus the batch if available. Ask about the first wash and your follow-up contact.
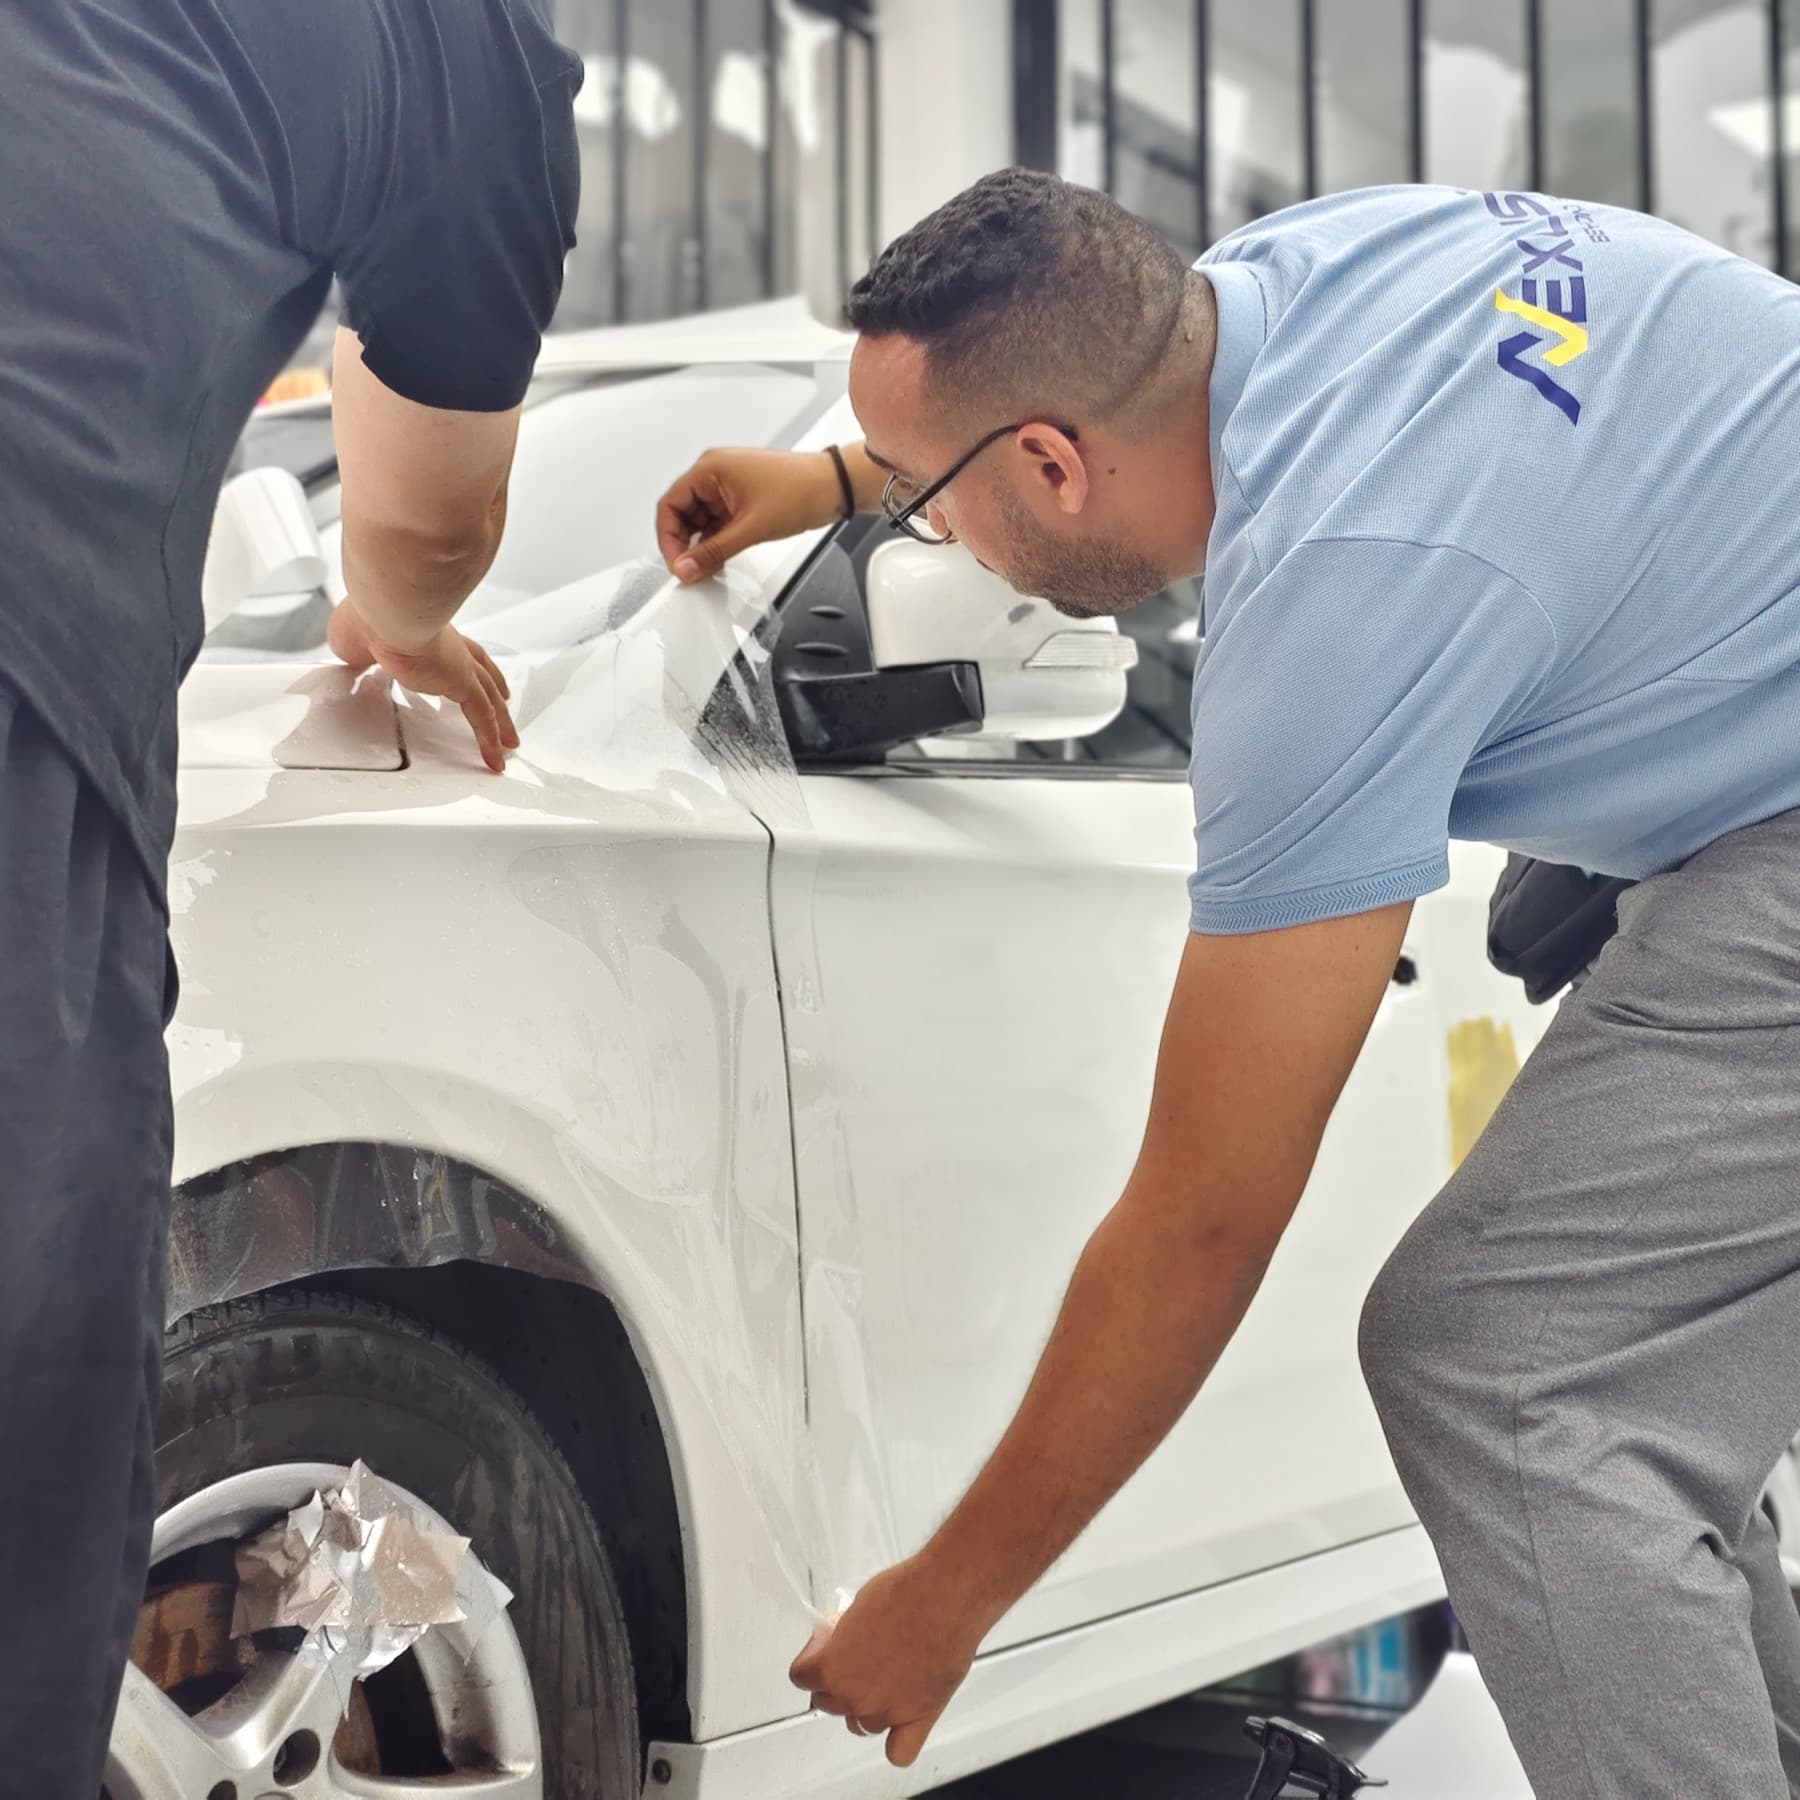
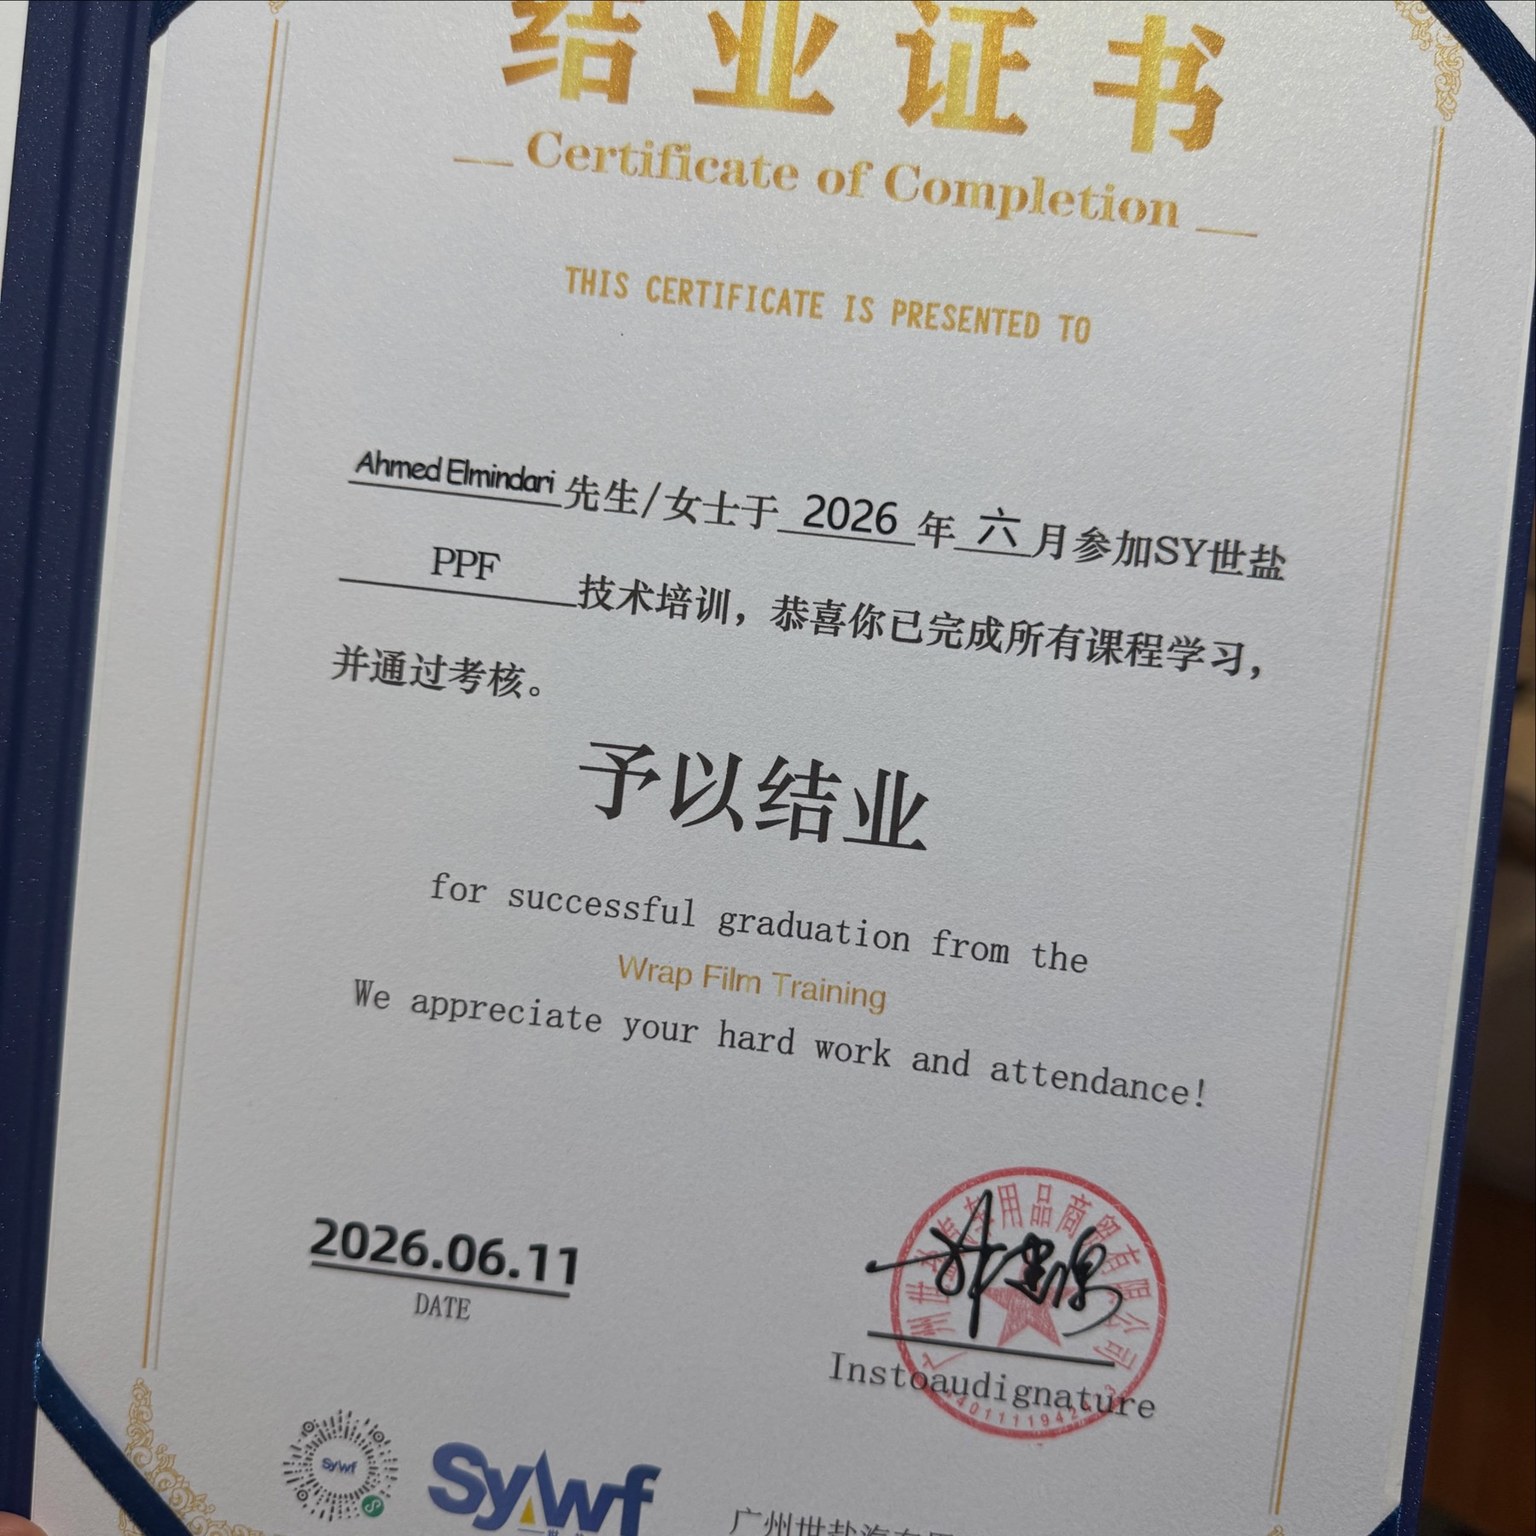
Sywf Wrap Film Training certification, Guangzhou, June 2026. This document records training; installation quality also depends on preparation, finishing and vehicle inspection.
Adapt these principles to the application instructions for the film series used. Solutions, heat and stretch settings cannot automatically be transferred between films. Check product compatibility and carry out a suitable trial when in doubt. Film and installation services have separate warranty terms.
Follow the waiting period before washing given for the installed film and drying conditions. Haze or small moisture marks may change during this phase; solid contamination, a fold or a lifted edge needs the installer’s assessment. Do not pull the film, puncture bubbles or try to reattach an edge. Keep pressure-washer jets away from the edges.
Protecting your car or choosing rolls for your workshop? Let’s discuss the vehicle, the film and the finish you expect.